
I have a confession. I love pleats. I especially love knife pleats.
I was fascinated by the concept of a pleat board. I’ve looked up countless DIY websites on how to make them. Many helpful sorts have offered suggestions on where to find them, who makes the best one, and bemoaned the fact that the very best one is no longer being sold.
But I’m lazy.
I am old school.
I didn’t learn how to pleat with a pleat board. I learned to pleat the old-fashioned way: One fold at a time.
It really isn’t as tedious as it sounds.
In preparing for this post, I read so many how-to’s regarding pleats. The formulas are out there. Everyone has their technique. Some use tailor’s chalk or fabric marker, measuring tape, and an iron, along with complex calculations.
There is no right or wrong way to pleat.
This is my way.
I use a quilter’s ruler, straight pins, an iron, and hem tape. Oh, I also use painter’s tape to hold them together when I’m finished.
While making this 1870’s bustle skirt, I knew I had to have a pleated ruffle. This particular era had deep ruffles roughly 12” deep. I gave myself extra. I cut 8 strips 14” wide across the entire width of my 45” fabric. The depth of the ruffle didn’t matter as long as I had at least a 12” reveal, but I’ll get to that later. After I cut the strips, I squared off the top and bottom edges, making them perfectly parallel to each other, and perpendicular to the selvage edges. I needed a perfect rectangle.
I settled on 1” pleats and treated each strip as a separate panel, pleating them individually, giving myself 2 ½ to 3” on each selvage edge. I didn’t try to be precise. I started my first pleat roughly 3” into each panel. The reason for this is that each individual 1” pleat uses 3” of fabric. It worked out that each panel yielded 14 separate pleats.
Okay. That’s the math out of the way. Now for the technique.

First thing, I took the 5/8” wide hem tape and used it to hem the bottom edge of my panel, making a – you got it – 5/8” deep hem! I just turned up the fabric the depth of the hem tape and applied heat to activate the glue. I used iron-in hem tape to add a bit of body to the hem, hopefully helping to stabilize the sharp fold of each pleat at the bottom. Hem tape works best when used with a damp pressing cloth in lieu of steam iron. You MUST let the fabric cool and dry completely before manipulating it.


Once that was done, I checked once more for square and level and topstitched a quick hem into the bottom of the panel right through the two layers of fabric and the hem tape. I did this with every panel, but only on the bottom edge. The raw top edge will be addressed later.
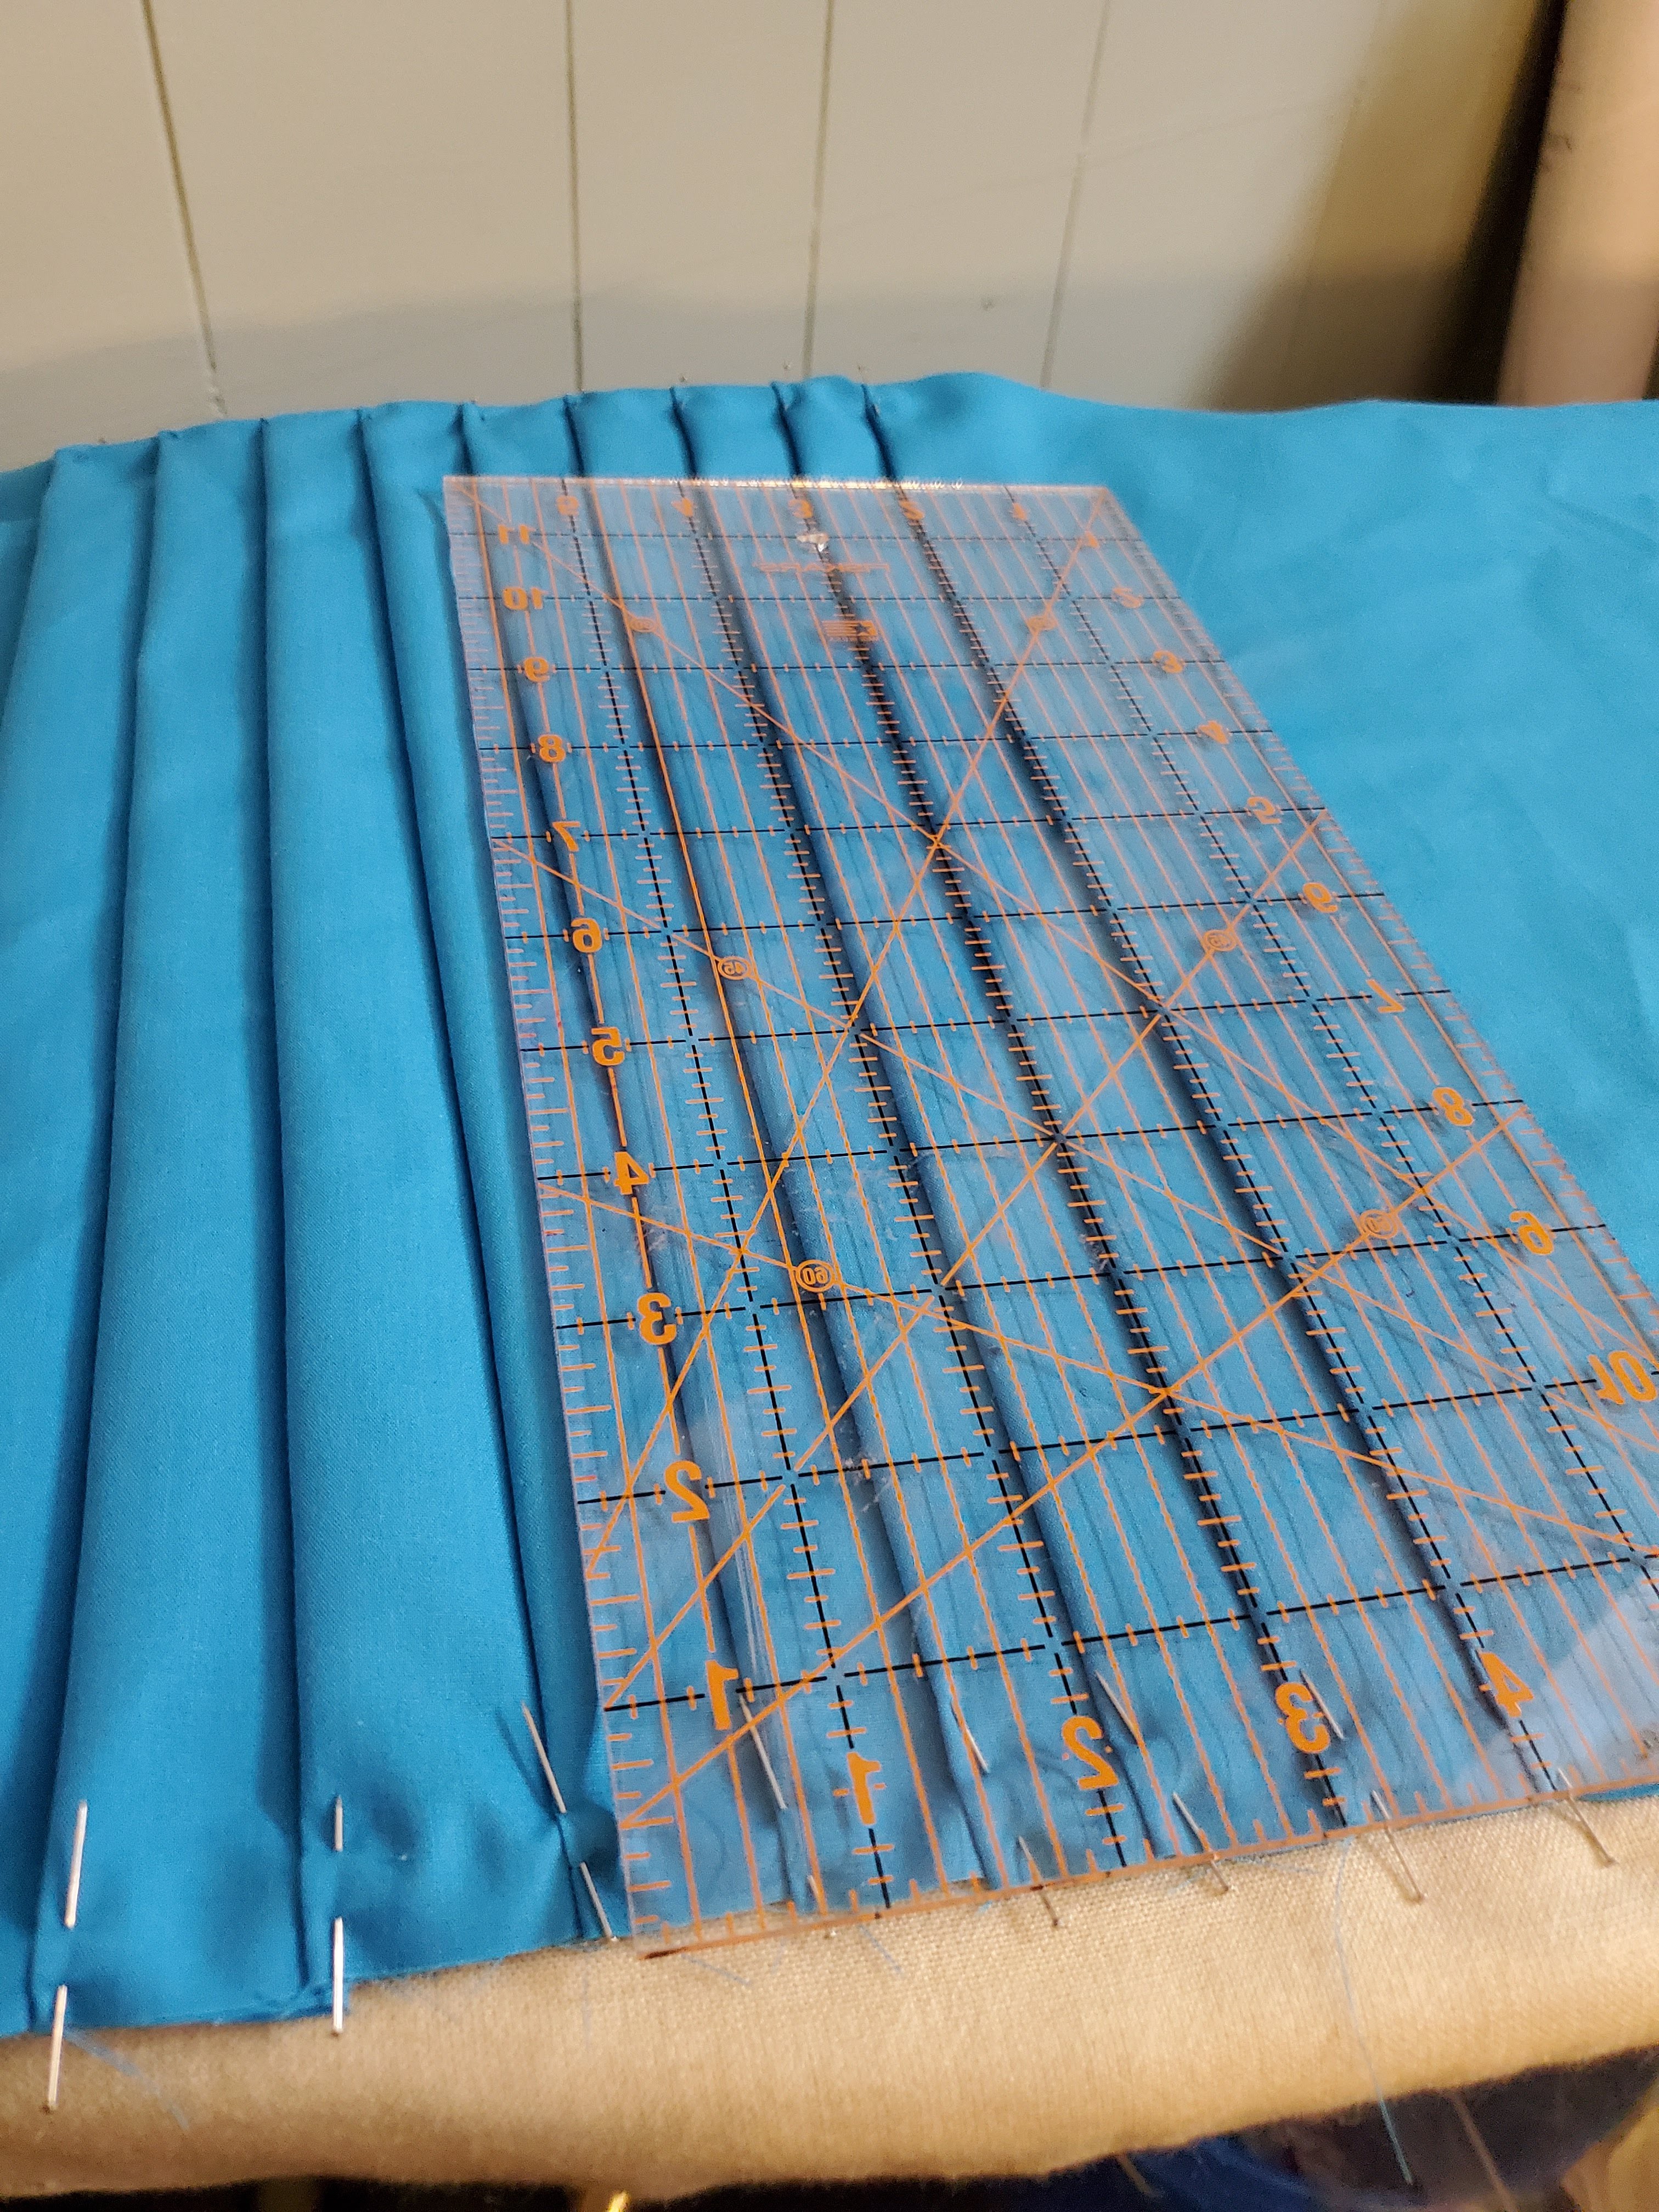
Taking my quilting ruler, I lined it up square with the top and bottom edges of the panel a few inches in from the left selvage. Taking the fabric on the right of the ruler’s edge, I carefully pulled the fabric over to line up with the 1” line down running down the length of the clear plastic ruler. Making sure everything lined up, top bottom and along the 1” guideline. I pinned the top and bottom of the panel into place and removed my ruler from the fold.
Pleat #1, complete.
Now, here’s where it gets a little complicated.
To start Pleat #2, I used the fold of the previous pleat as my straight edge, but this time, I placed it on the 2” line. Taking hold of the fabric to the right, I pulled it over until the fold aligned with the 1” line and was still square to the top and the bottom edges. Then I pinned that one in place. I repeated the process, making sure previous pleats lined up down each inch line to keep everything uniform.


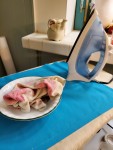
Once I had at least 14 pleats on the panel, and I knew because that’s about when I ran out of fabric, I checked the top and bottom of the panel to make sure the pleats were uniform and straight. Setting aside the ruler (because it’s plastic and I’m about to add heat,) I used a pressing cloth and a heavy iron and steam-pressed the daylights out of the pinned panel.
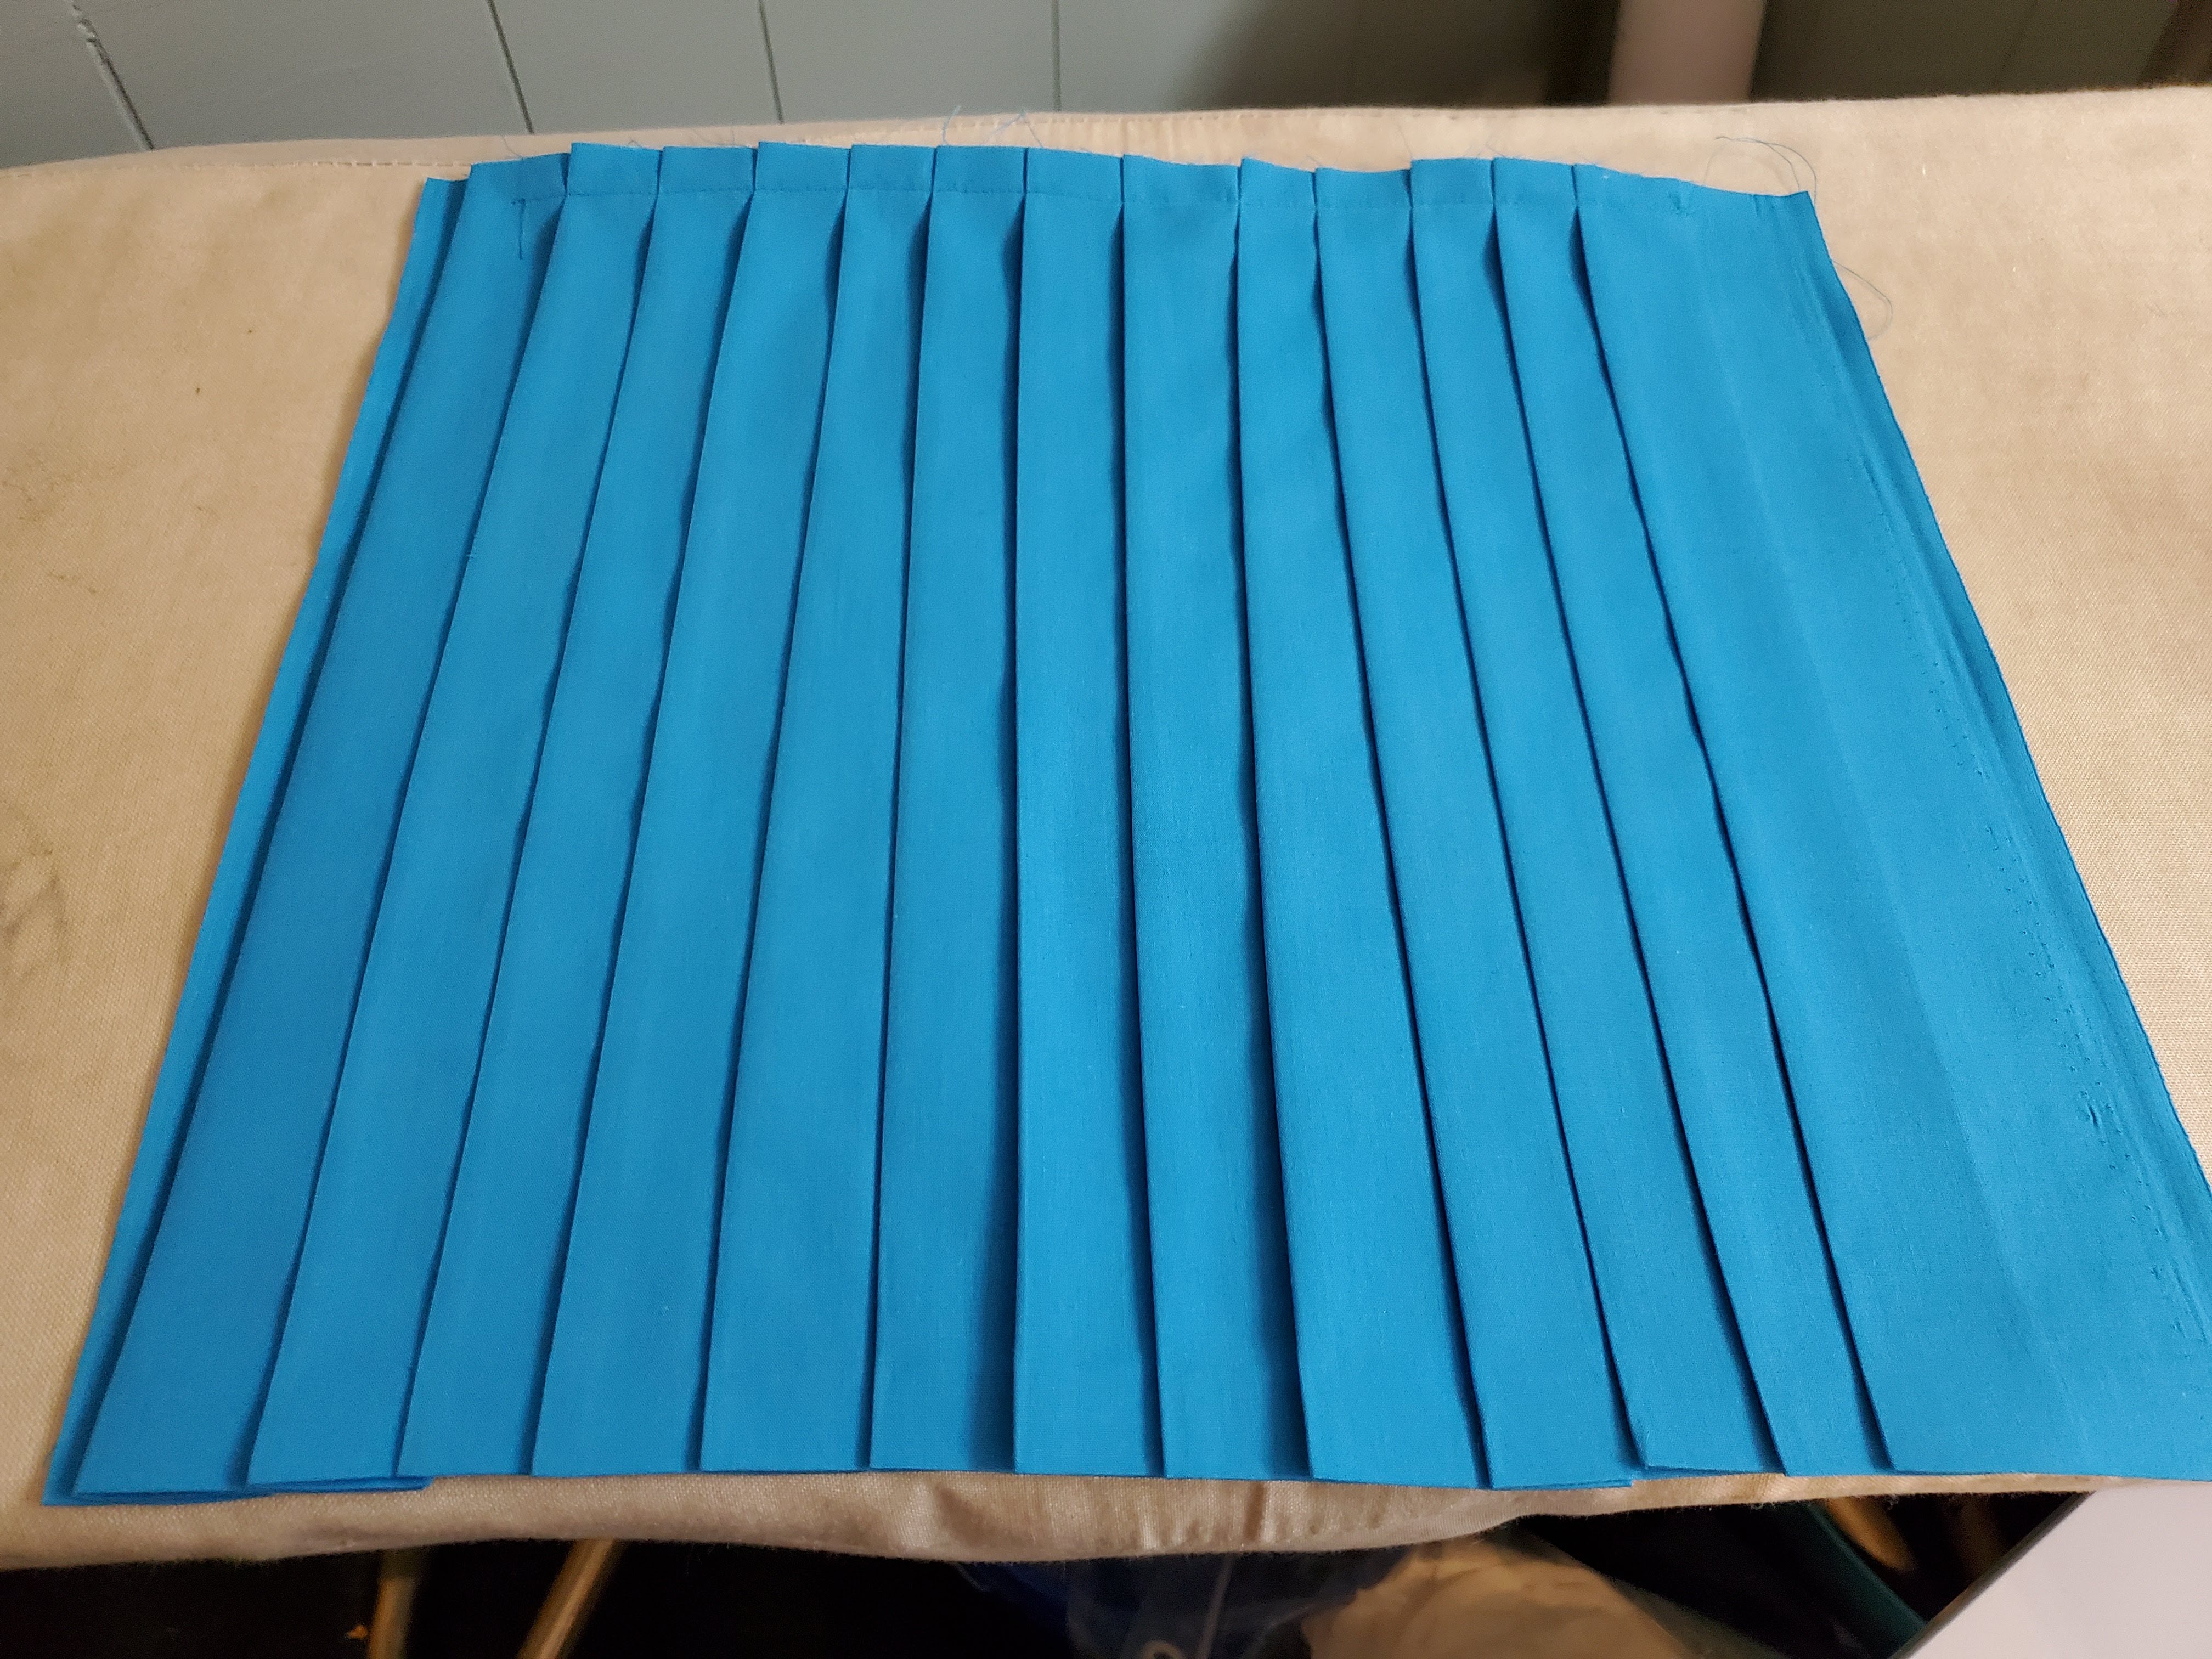
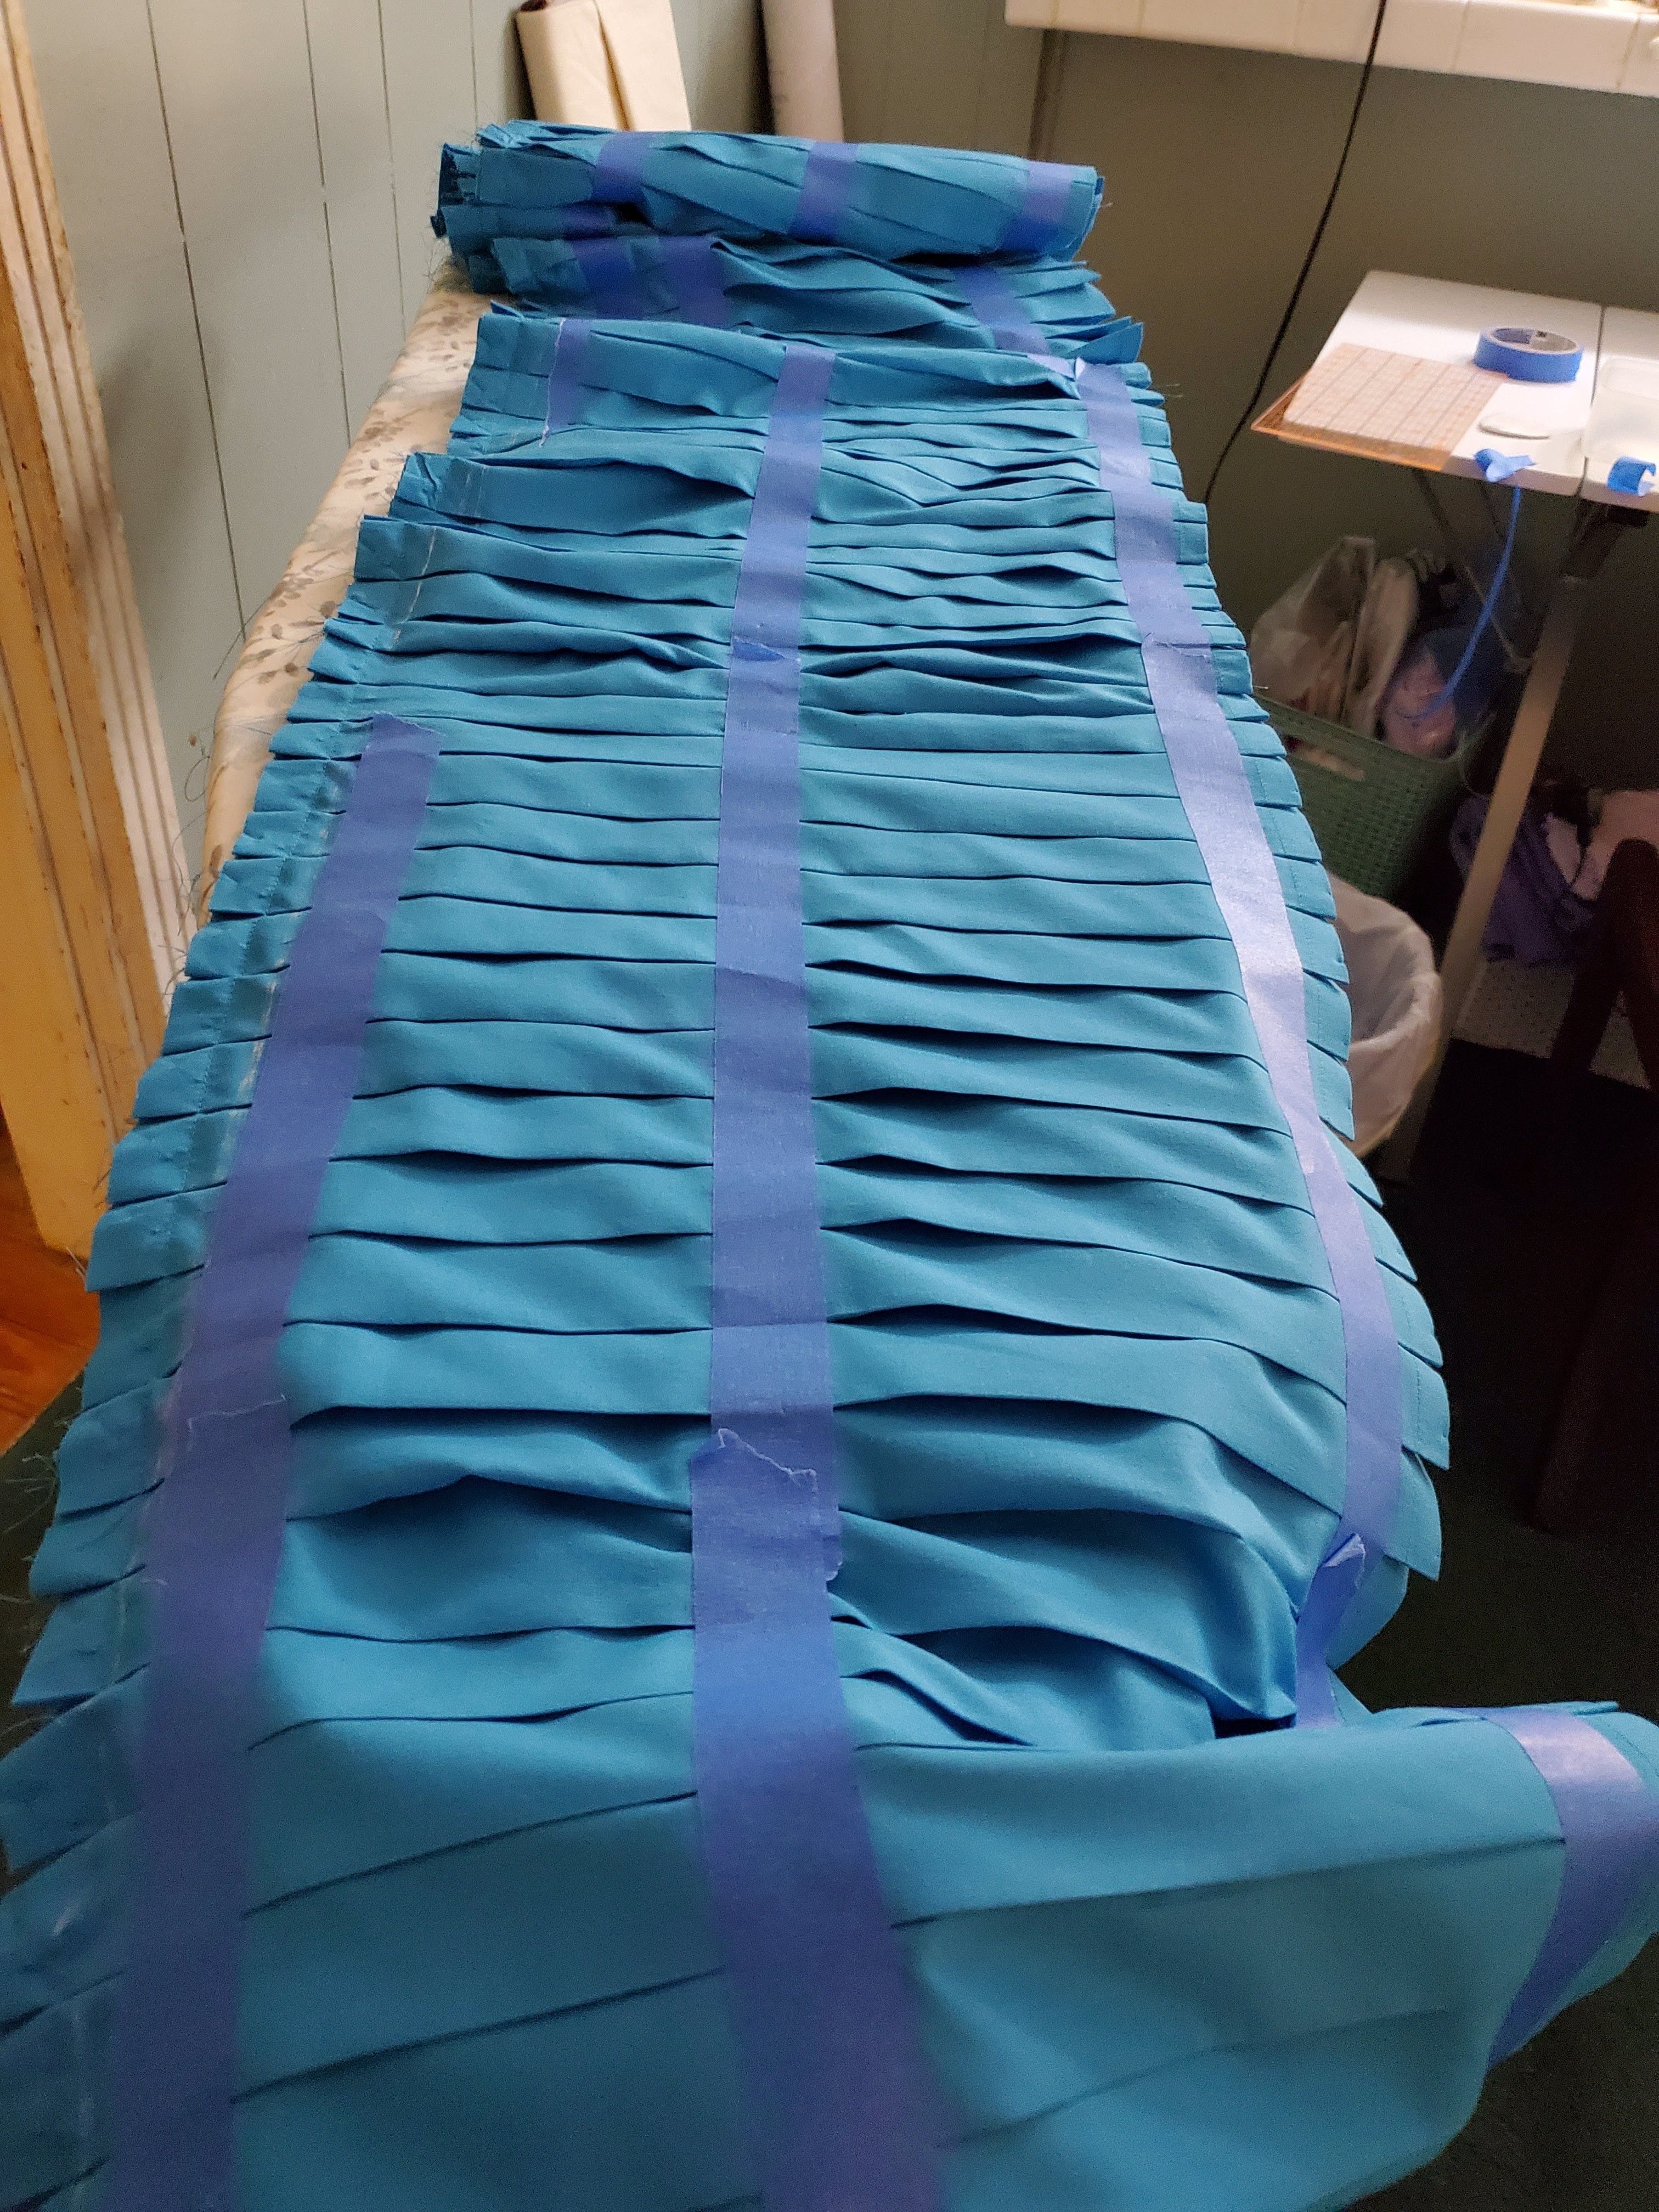
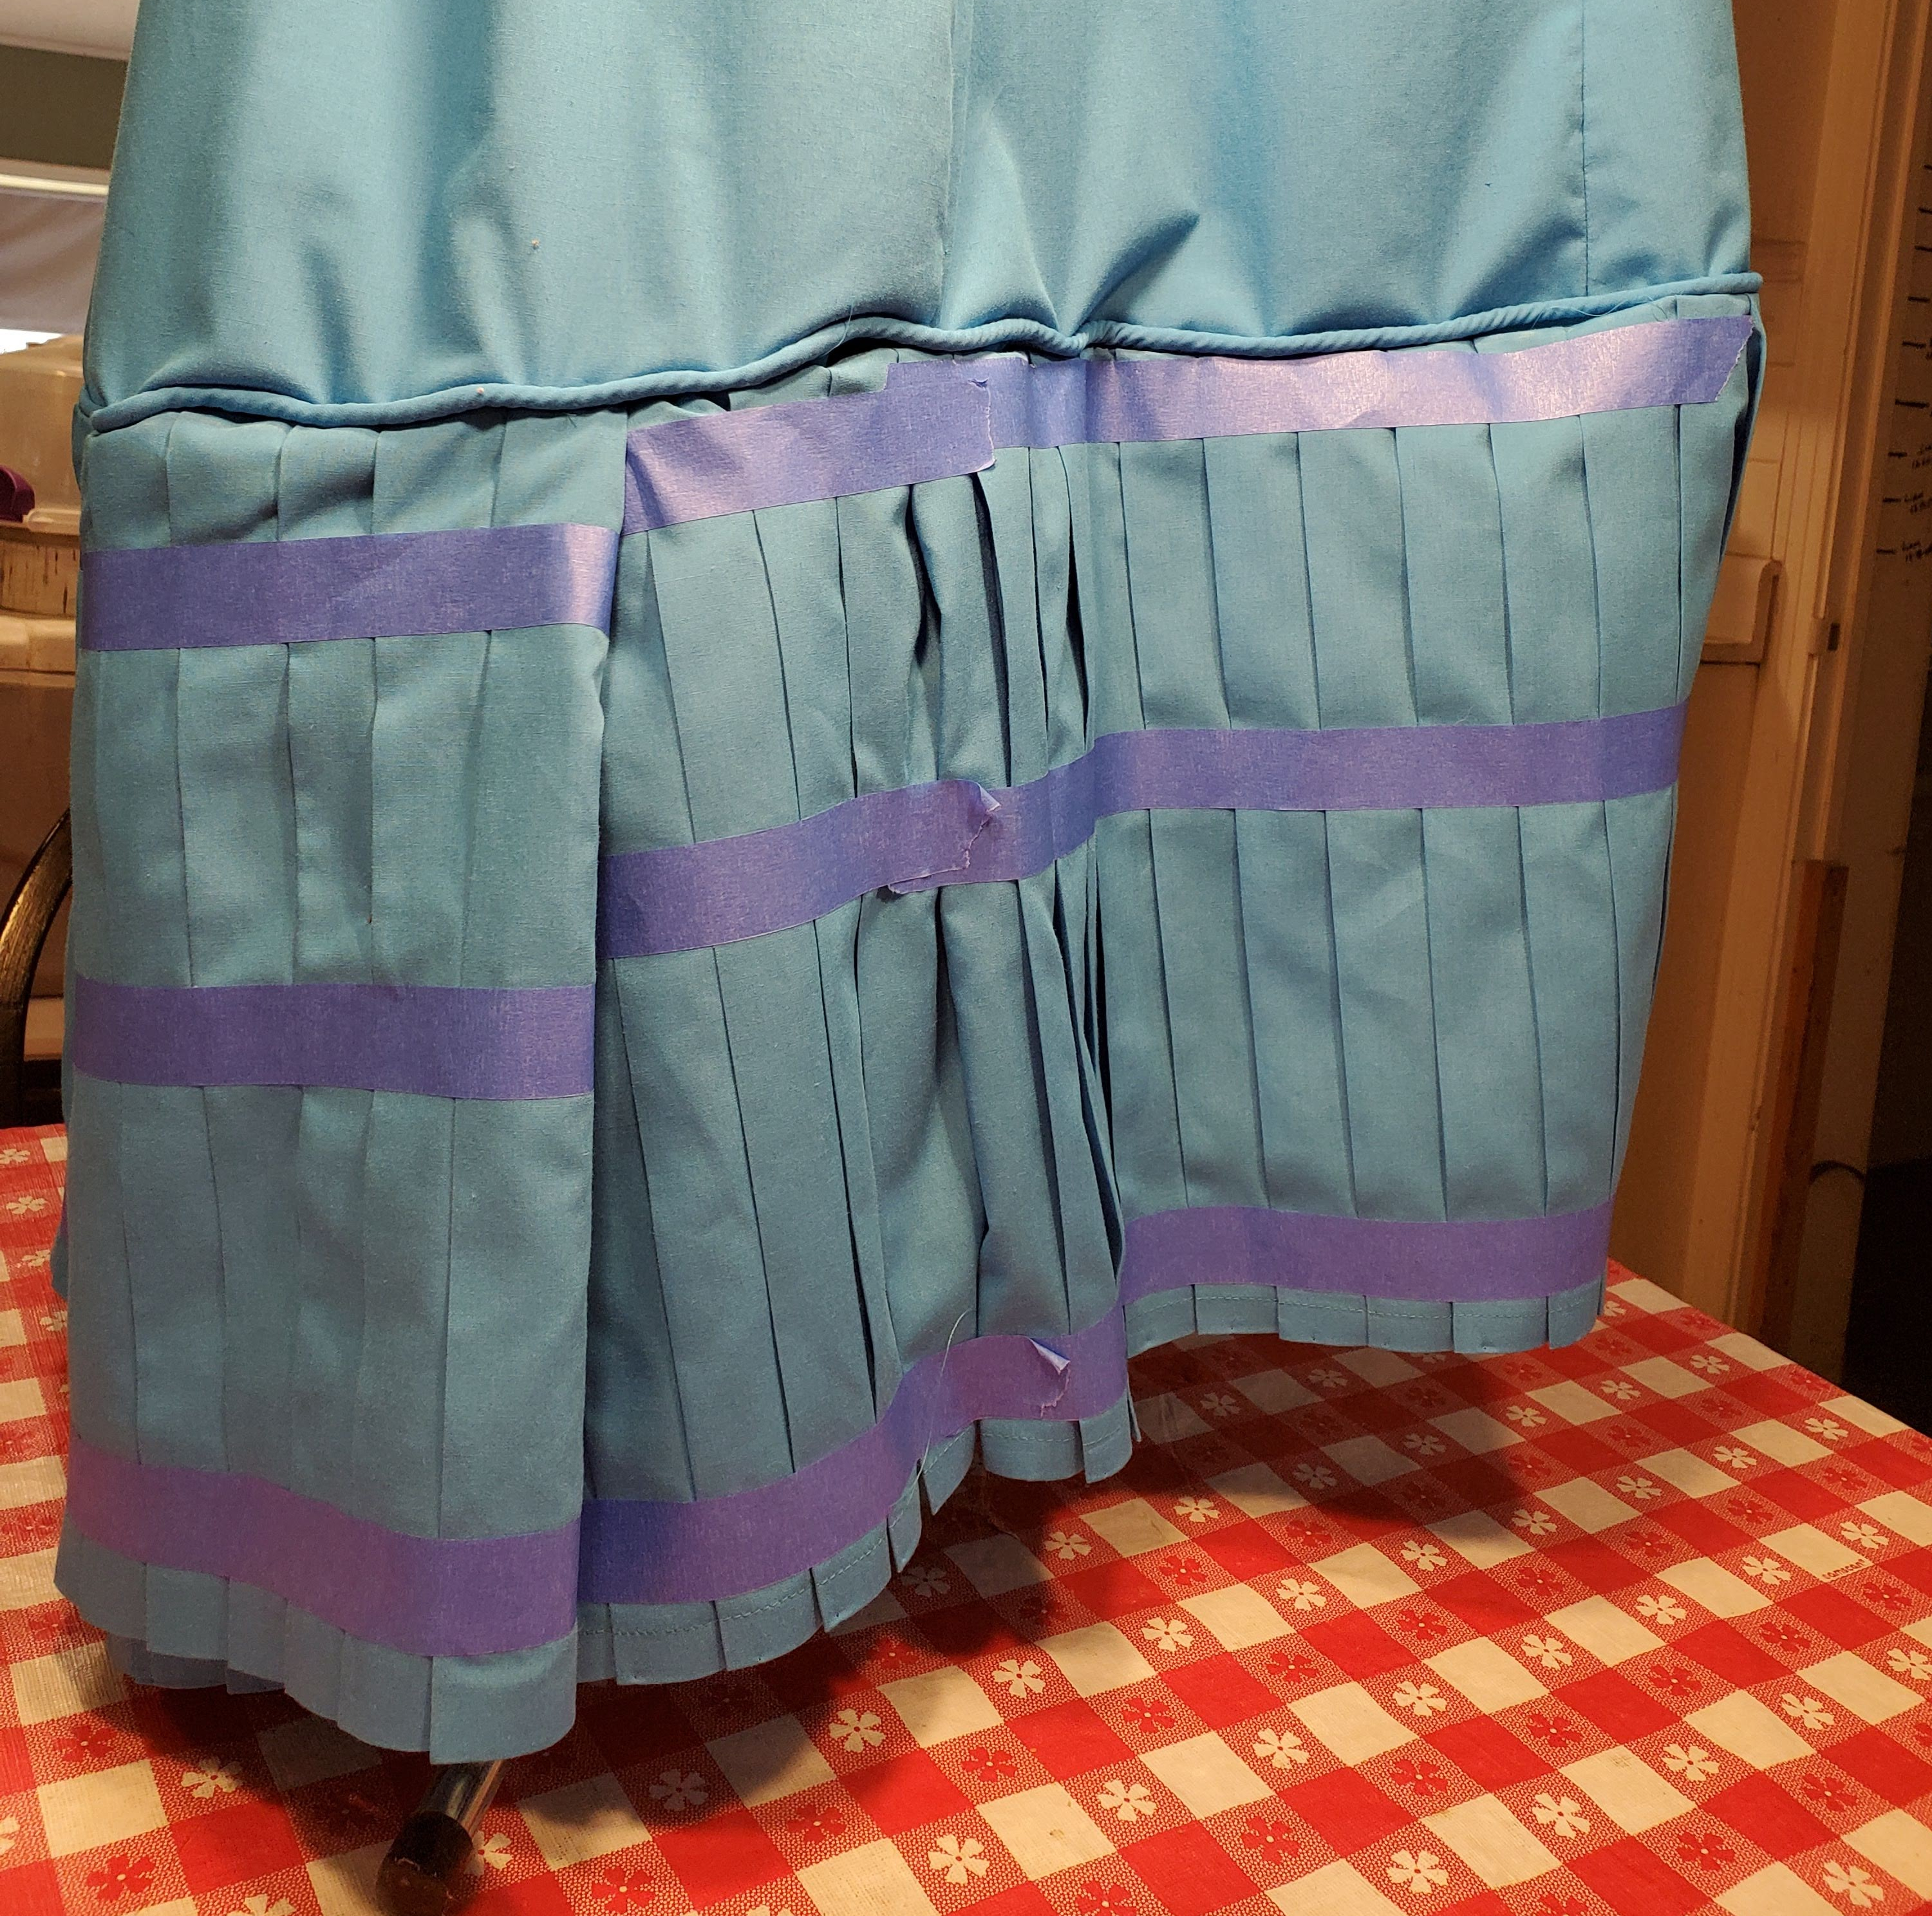
Once the pleats had been pressed into the panel and the fabric had cooled completely and dried, I applied a strip of painter’s tape down the panel approximately 1 ½” from the top edge. Carefully, so as not to disturb the pleats overmuch, I moved to my sewing machine. Unpinning the top edge as I went, I topstitched the pleated panel 5/8” from the top edge. I returned the panel to the ironing board, bottom still pinned, for a second pressing. I removed the bottom pins, smoothed the pleats carefully, and using a pressing cloth again, I pressed the pleats again but only below the strip of painter’s tape. Once cooled and dried, I added another strip of painter’s tape to the bottom of the panel, and another strip down the center to hold the pleats in place until I could sew them onto the garment.
Now, about the 12″ reveal.
I needed a straight line to guide me, to keep the ruffle straight all the way around the 120 or so inches of hemline. I cheated. Measuring up 11 1/2 inches from the bottom hem of the walking-length skirt, I drew a chalk line.
Now, here’s the cheating part: I cut bias strips of the same fabric as the skirt and covered cotton cord, making a corded trim that ran all the way around the skirt and I attached it to the top of the chalk line.


Going back to my ruffle panels, I measured 12″ from the bottom hem on the wrong side and using my straight edge, drew another chalk line.
I placed the ruffle, right sides together on my skirt with the raw edge on the bottom side of my corded trim. You’d better believe I pinned the daylights out of it! Before I sewed it, I put the skirt on Sally, my Tipsy Mannequin, and checked to make sure the hem and ruffle were even all the way around. Once satisfied, I basted the sucker into place before taking it to the machine.
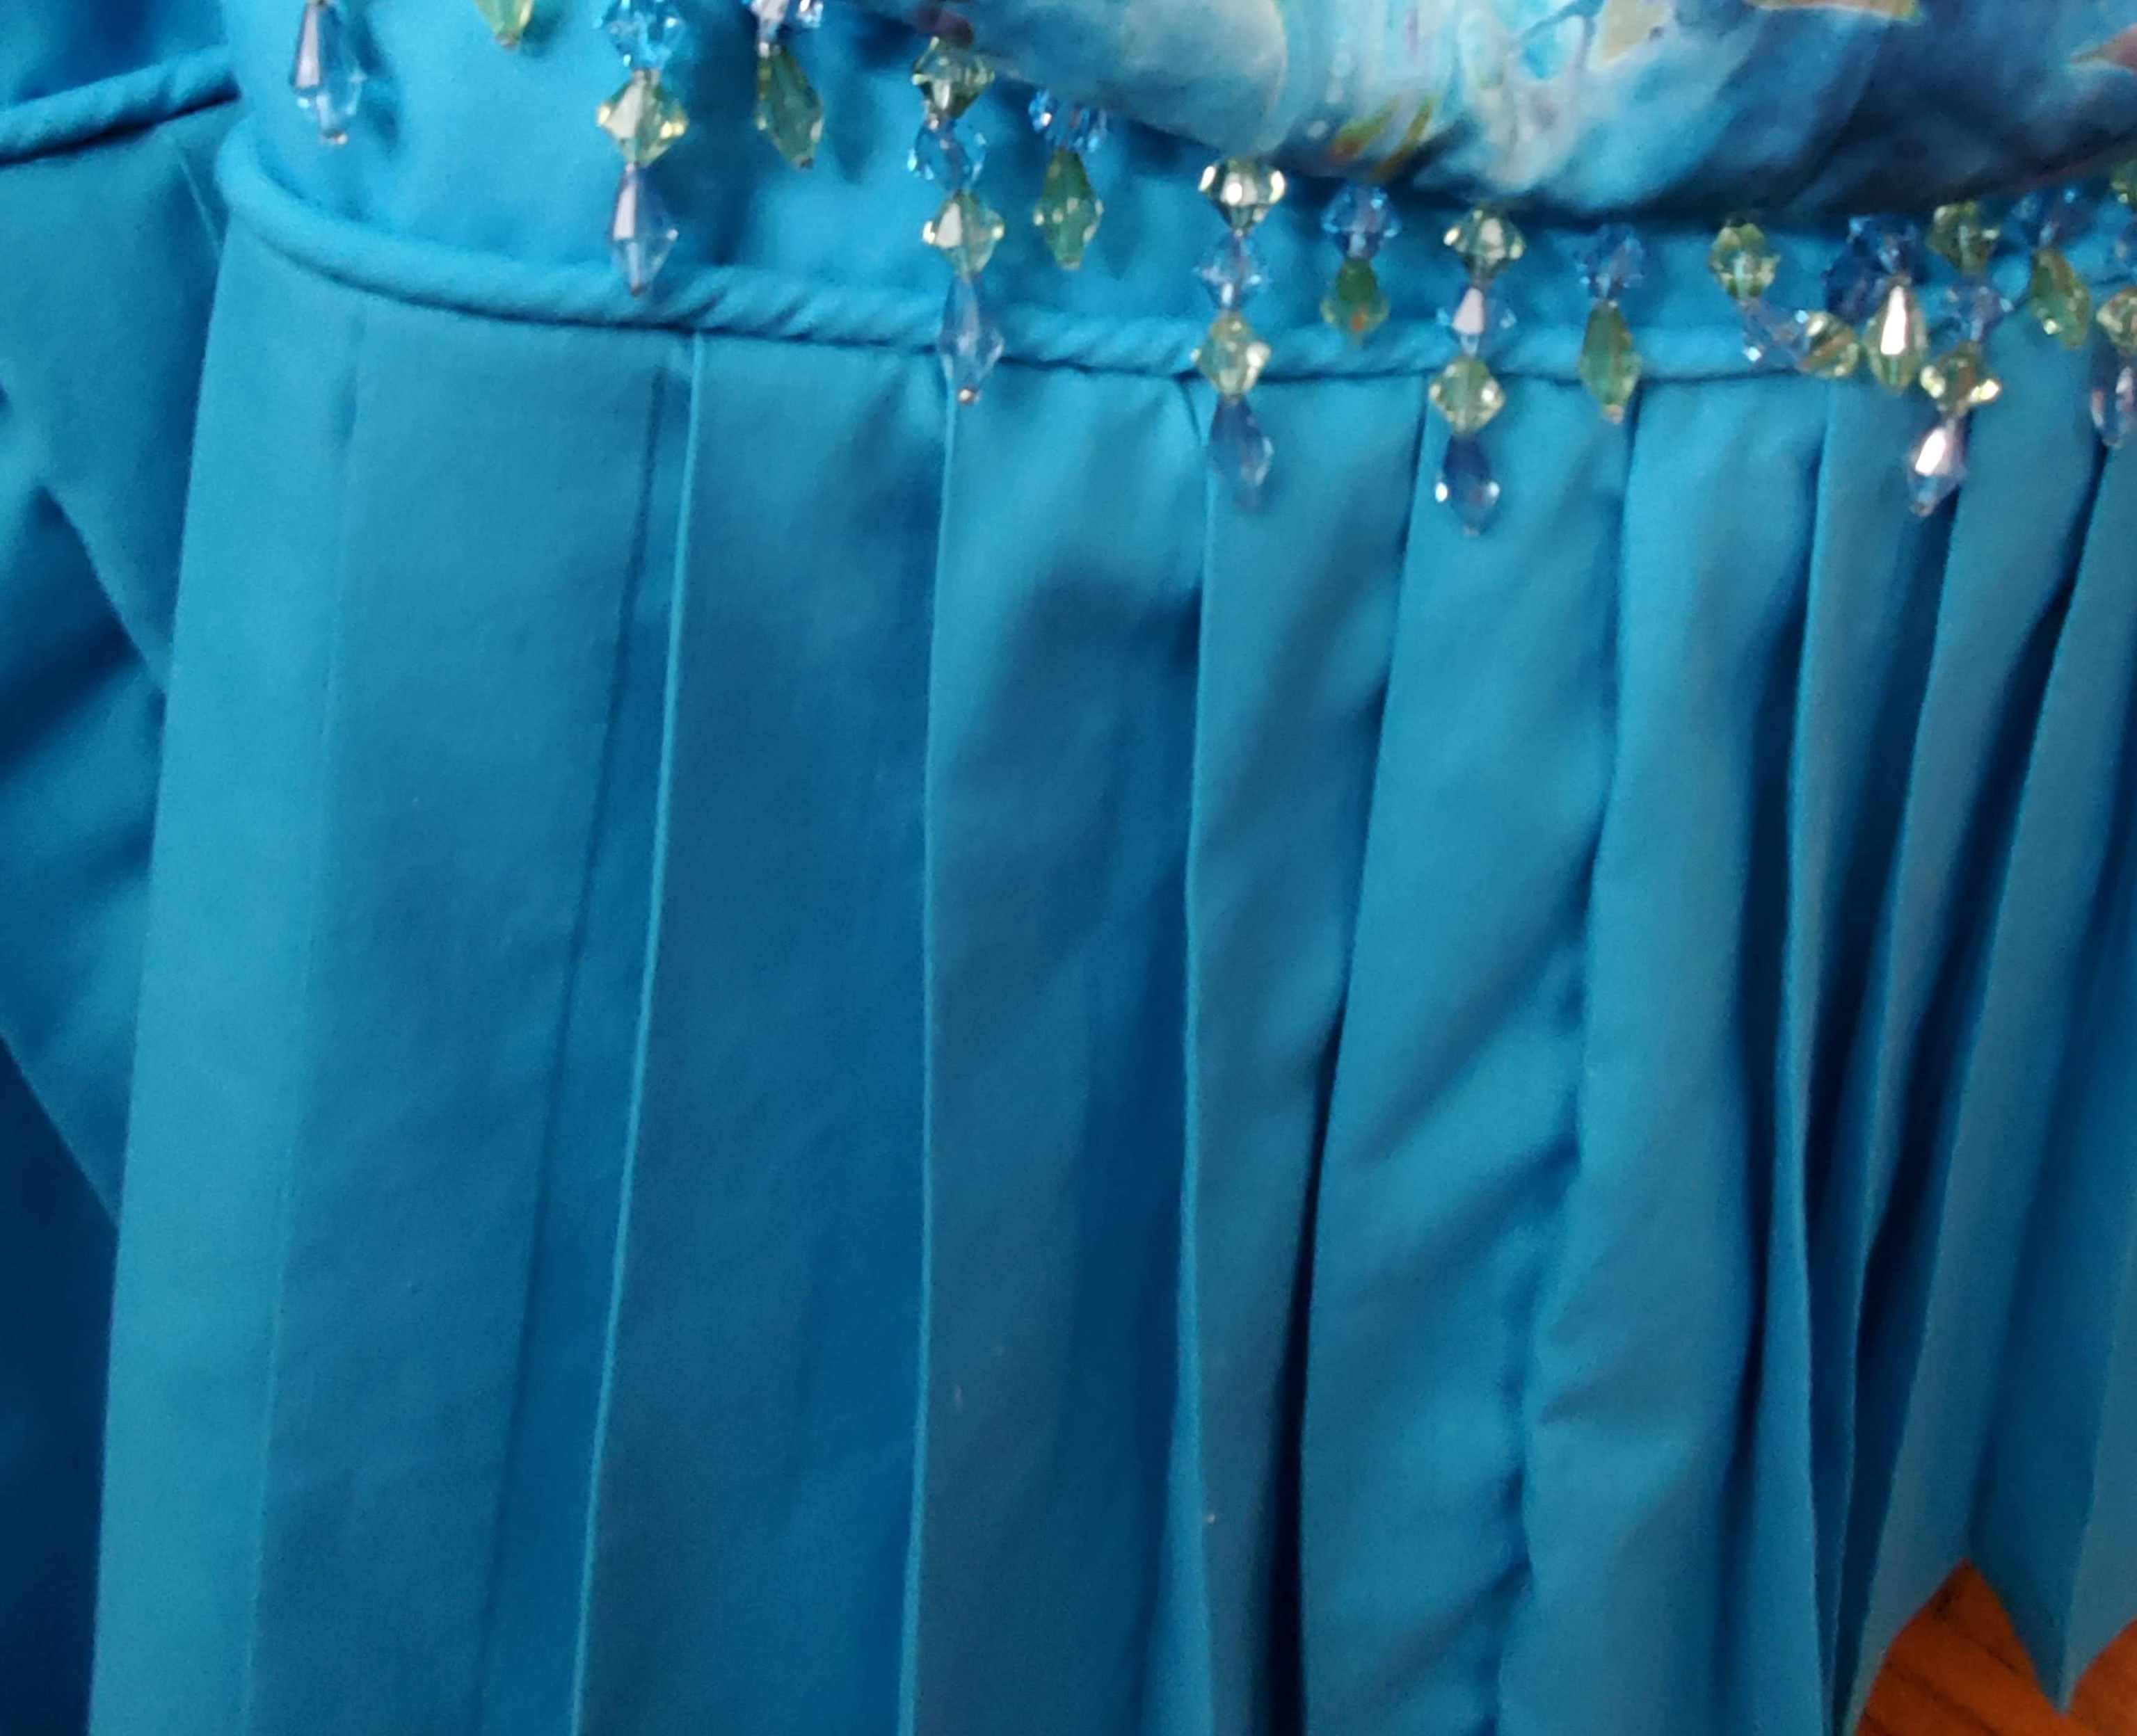
Using the zipper foot on my machine, I sewed the underside of the ruffle on the same seam line as the bottom edge of the cording. The zipper foot let me get my needle as close to the cording as possible so I could use it as a straight edge. It also made a nice trim for finishing off the top of the pleated ruffle.
Since I posted pictures of my process on Instagram and Facebook, some people have asked what I used to set the pleats. I only used water in the pressing cloth, but my next pleating project I will use a vinegar solution in my pressing cloth. I hear that sets the pleats perfectly without leaving a residue behind. However, I have not yet tried it, so I can’t speak to its results, though Historical costumer Jennifer Rosbrugh swears by it…and that’s good enough for me.
The Final Ensemble

Surprisingly, the pleated ruffle took less time than any other part of the costume. Perhaps because it was a technique I was more familiar with than anything else in the Victorian garments. Look for pleats to show up frequently in my costuming and street clothes. I prefer pleats to gathers whenever possible. I like the streamlined manner in which pleats fall. You can see my use of pleating when setting a length of fabric into a smaller waistband as seen here in the back of this skirt. If I don’t specifically need the volume of gathers, I will use pleats, especially on outer garments.
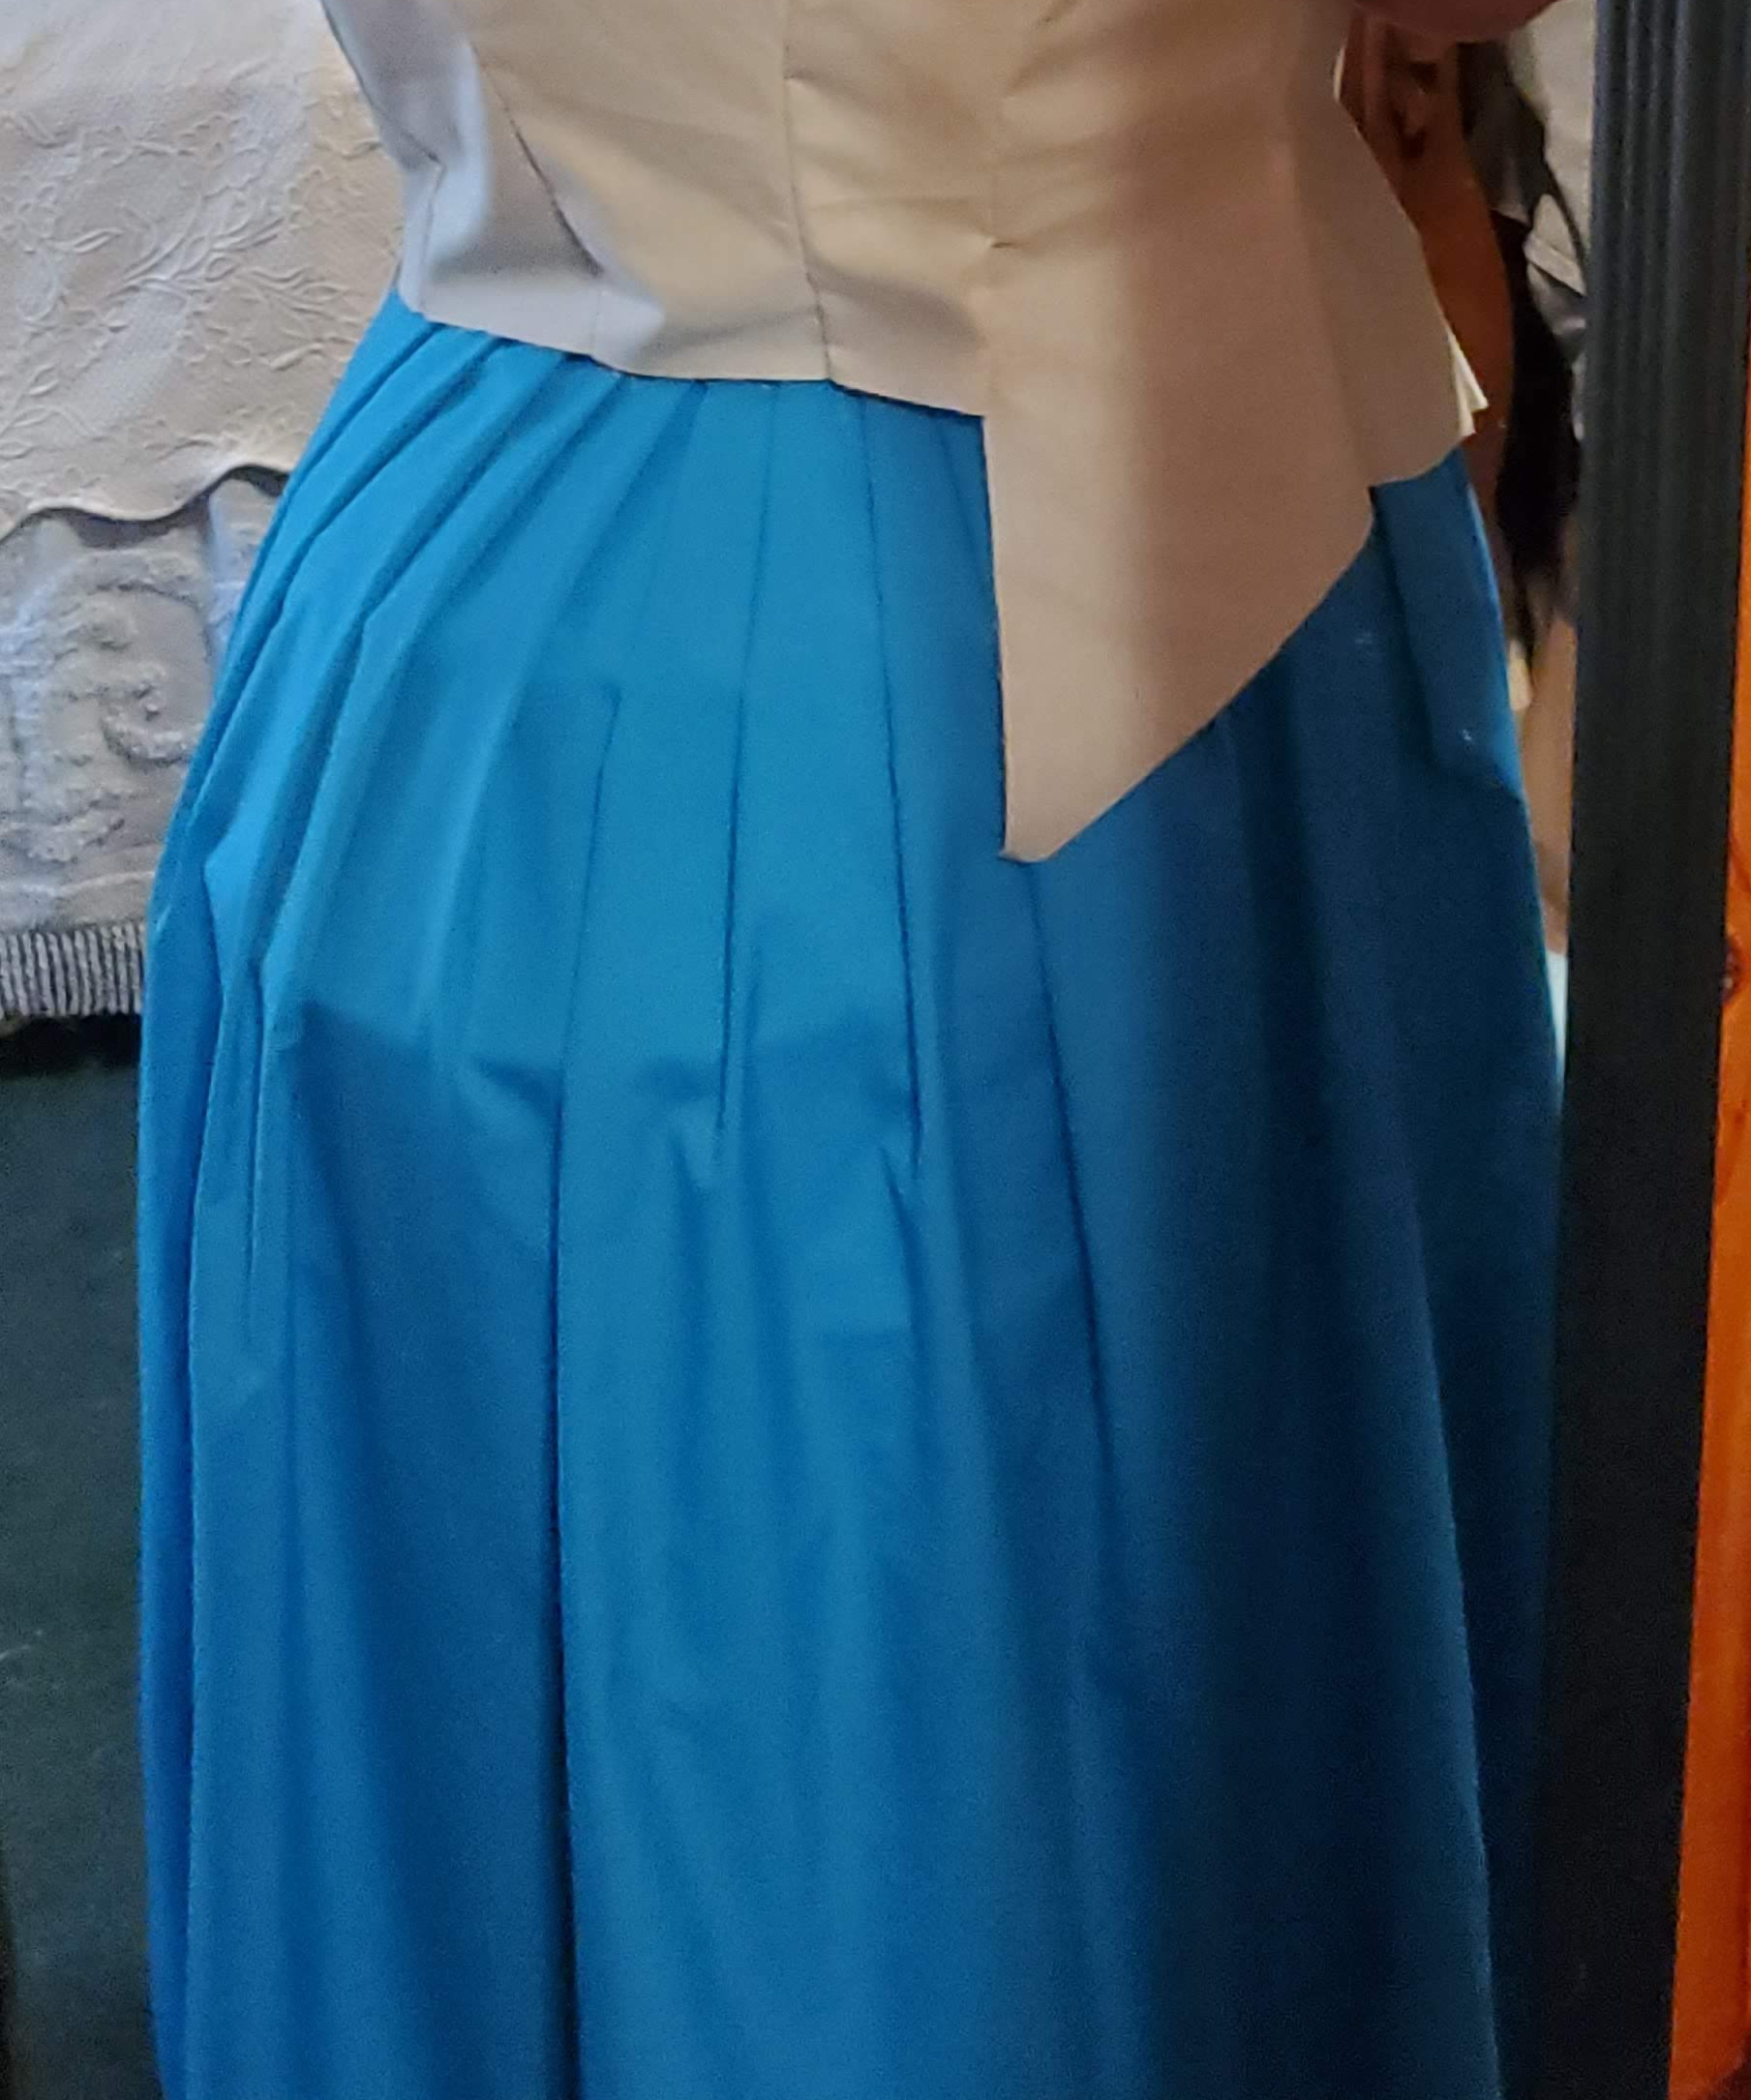
The downside of pleats, as you can see here is that the outline of the hoop from the bustle is visible underneath the fabric. I wasn’t overly worried about it in this case because I knew the bustled overskirt would mask it. An easy fix to this is layers of gathered ruffles over the bustle cage. That would be one instance in which I would prefer gathers over pleats for the added volume.
After all, nobody likes a flat bustle!
